Search Login

Search

Dill

SCENTIFIC NAME: Anethum graveolens

PLANT FAMILY: Carrot/Celery/Parsley Family (Apiaceae)

CLIMATE (LOCATION): Southwest Asia | Semi-Arid

DESCRIPTION: Dill has feathery green leaves and a distinct, aromatic flavor. Dill is commonly used as a spice in cooking, particularly in pickling and seafood dishes. It also adds a refreshing and slightly tangy taste to salads, sauces, and dips.

Easy difficulty & pet safe

Dill Plant Care

Lighting

Light Requirement: Full Sun (Bright Direct Light) & High Light (Bright Indirect Light)

The best place for your indoor dill plant to obtain sunlight is close to a south-facing window, where it can receive bright, direct sunlight. LED grow lights can be used to supplement natural sunlight if it is scarce or insufficient. Keep a watchful eye out for any indications that the plant needs greater exposure to light, such as stretched or thinned stems or pale leaves. Ensure the dill plant obtains the ideal lighting conditions required for healthy growth and robust flavor development by adjusting the lighting configuration properly.

Lighting Recommendations

-25%
Aspect™ LED Growlight
$170.00 CAD - $213.00 CAD $284.00 CAD Sale
-20%
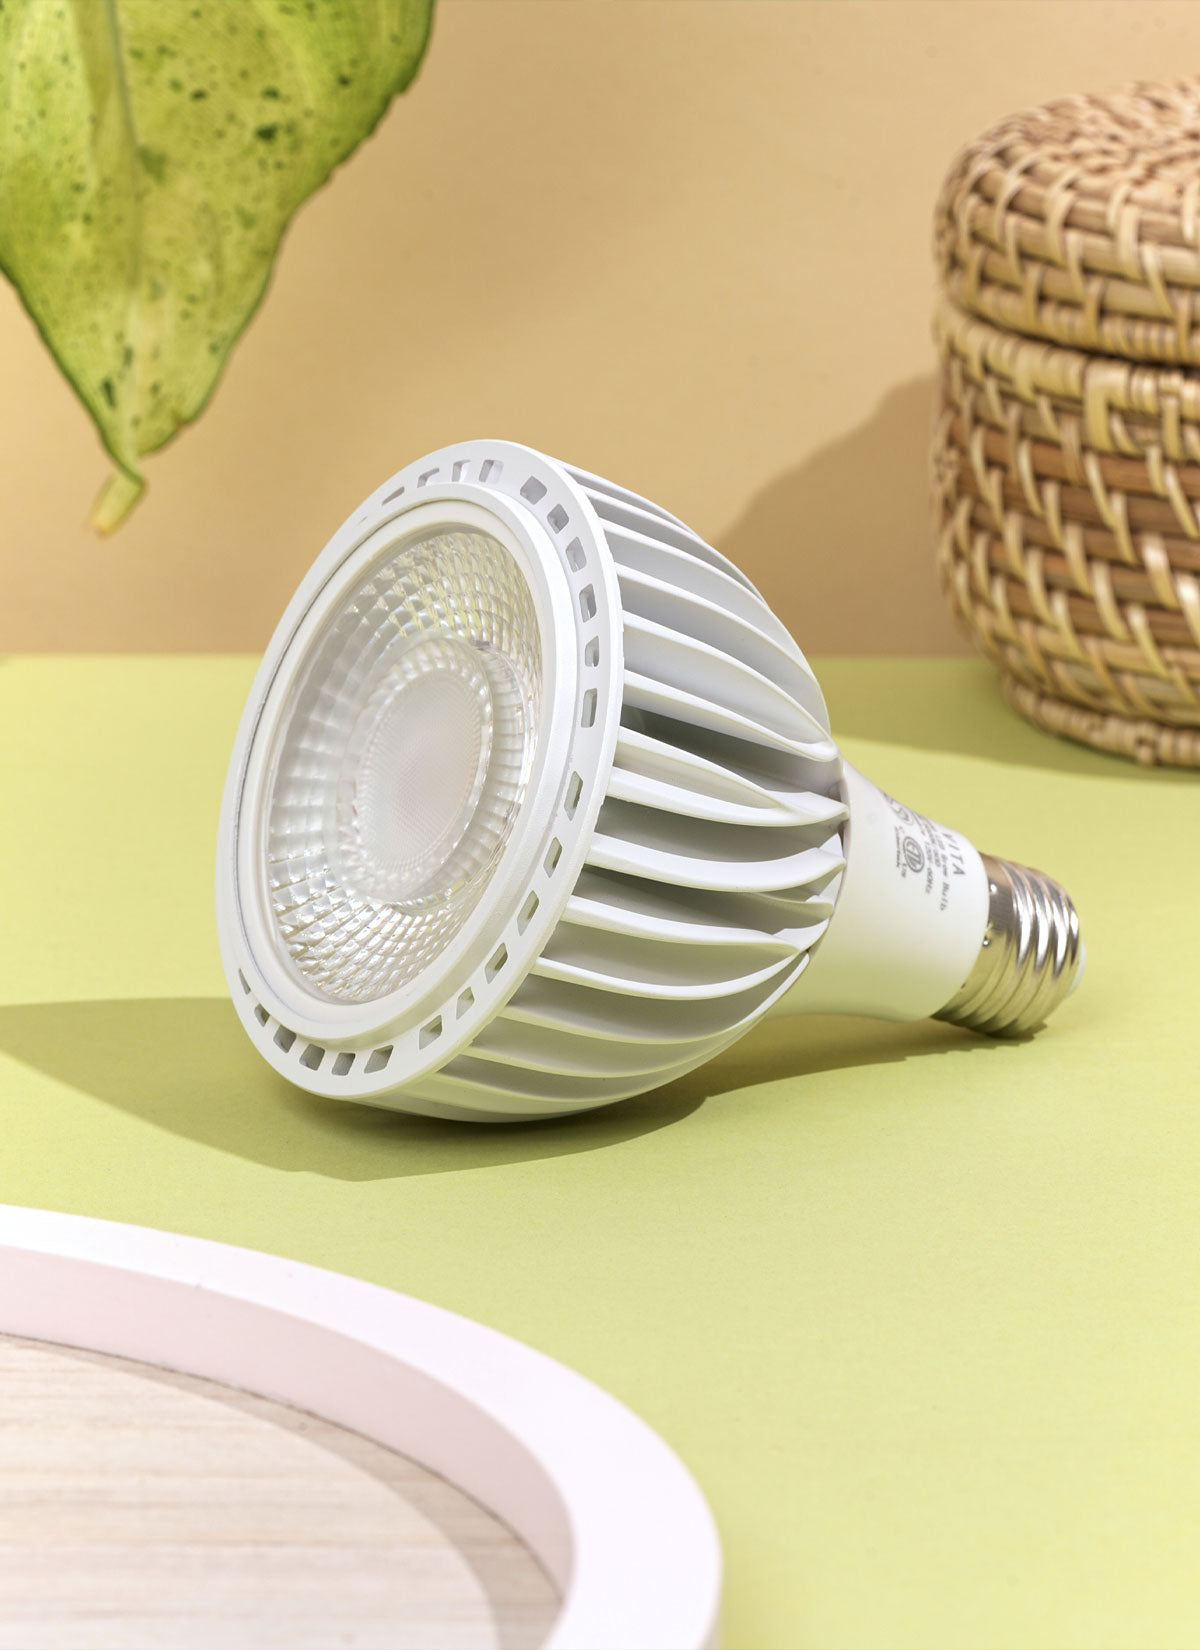
Vita™ Grow Light
$97.00 CAD $121.00 CAD Sale
-40%
Highland™ LED Track Light System
$245.00 CAD - $629.00 CAD $1,048.00 CAD Sale
-20%
Grove™ LED Grow Light
$148.00 CAD $185.00 CAD Sale

Watering

Quick Tip: Water until water comes out of drainage holes. Allow top 2 inches of soil to completely dry between waterings.

Check the top inch of soil before watering, and water when the soil feels just a little bit dry to the touch. To ensure even moisture distribution throughout the root zone, water thoroughly until water runs out of the pot's bottom. Avoid overwatering as it might cause root rot and other fungus problems. Overwatering is preferable than slightly underwatering. Maintain a consistent watering schedule, usually every 7 to 10 days, but modify it according to the weather, humidity, and unique requirements of your dill plant. Make sure the pot has drainage holes to prevent water buildup because proper drainage is essential. In order to simulate the naturally humid climate that dill enjoys, spraying the foliage occasionally can also help. To encourage healthy growth and avoid issues linked to water, it is important to regularly check the moisture content of the soil and alter watering techniques accordingly.

Temperature

Preferred Temperature: 60º - 75º

Dill thrives in moderate to cool temperatures, typically between 60°F (15°C) and 70°F (21°C). It prefers a cooler environment, especially during the germination stage, where temperatures around 70°F (21°C) are ideal. Once established, dill can tolerate slightly warmer temperatures, but prolonged exposure to high heat above 85°F (29°C) can cause the plant to bolt and go to seed prematurely. To ensure optimal growth and flavor, it is recommended to provide dill with a cool and well-ventilated space, protecting it from extreme heat.

Humidity

Preferred Humidity: 40 - 50%; Moderate Humidity

Dill thrives in environments with moderate to high humidity levels. A relative humidity level between 40% and 50% is perfect for dill. Adequate humidity helps promote healthy growth and prevents the plant from drying out. To create a suitable humid environment for dill, consider placing a tray of water near the plant or using a humidifier. This will increase the moisture in the air and provide the optimal conditions for dill to flourish. Regularly monitor the humidity levels and adjust as necessary to ensure the plant receives the right amount of moisture.

Additional Plant Care

Propagation
Dill propagation involves a few simple steps to successfully grow new plants. Begin by collecting mature dill seeds from an existing plant. Gently crush the seed heads to release the seeds. Prepare a small container or seed tray with moist, well-draining soil. Scatter the dill seeds evenly on the soil surface and lightly press them down. Cover the container with a plastic wrap or a clear lid to create a humid environment. Place it in a warm spot with indirect sunlight. Keep the soil consistently moist but not waterlogged. In about 1-2 weeks, you should start to see the dill seeds sprouting. Once the seedlings have developed a few sets of true leaves, they can be transplanted into individual pots or directly into the garden. Ensure they receive ample sunlight and water regularly.
Toxicity
Dill is generally considered non-toxic to humans and most animals. However, there are a few precautions to keep in mind. In some cases, individuals with known allergies to plants in the Apiaceae family, such as celery or carrots, may also experience allergic reactions to dill. Additionally, consuming large amounts of dill seeds or essential oil may have a mild sedative effect and could potentially cause drowsiness or dizziness. It is always advisable to exercise moderation and consult a healthcare professional if you have any concerns or specific health conditions.
Repotting
Repotting dill is necessary when the plant outgrows its current container or becomes root-bound. Select a slightly larger pot with drainage holes to facilitate water drainage. Prior to repotting, ensure the soil is moist and manageable by watering the dill thoroughly. Gently remove the plant from its current container, being mindful not to damage the delicate roots. Place the root ball in the center of the new pot, loosening it if necessary. Add fresh, well-draining potting soil around the roots, compacting it gently. Water the dill after repotting to help settle the soil. Find a location with ample bright indirect light for the pot. Maintain consistent moisture by watering the dill regularly, but avoid overwatering.
Seeding
Start your dill journey by sowing the seeds in well-drained soil, either in a pot or directly in your garden. Plant the seeds at a shallow depth, covering them lightly with soil. Ensure they receive ample sunlight and regular watering for optimal growth. As the seedlings emerge, thin them out to provide sufficient space for each plant to thrive. With proper care and attention, you'll soon enjoy a bountiful harvest of fresh and fragrant dill leaves, perfect for seasoning your favorite dishes or making flavorful pickles.
Pruning
Pruning dill is an essential practice to promote healthy growth and maintain its shape. When the dill plant reaches a height of about 6 to 8 inches, it's time to start pruning. Using clean gardening shears, selectively trim off the top portion of the plant, removing a few inches of the stem. Focus on cutting just above a set of healthy leaves to encourage bushier growth. Regularly removing any yellowing or damaged leaves will help maintain the plant's overall health. Remember to avoid excessive pruning, as dill needs its foliage for photosynthesis
Fertilizing
For optimal growth and health, dill plants can benefit from the application of suitable fertilizer. Choose a balanced, water-soluble fertilizer with equal parts nitrogen, phosphorus, and potassium (NPK). Prior to planting, incorporate a slow-release granular fertilizer into the soil, following the package instructions for proper application rates. Once the dill plants have established, supplement their nutrition by applying a diluted liquid fertilizer every two to three weeks during the growing season. Ensure that the fertilizer is evenly distributed around the base of the plants, taking care not to over-fertilize. Regular fertilization will provide the necessary nutrients for robust dill growth, enhancing its flavor and overall productivity. Remember to always follow the specific instructions provided by the fertilizer manufacturer.
Soil
Dill thrives in well-draining soil that is rich in organic matter. Aim for a pH level between 5.5 and 6.5, which provides an optimal growing environment. Ensure the soil is loose and friable, allowing for proper root development and water penetration. Adding compost or well-rotted manure to the soil before planting can enhance its fertility and moisture retention. Avoid heavy clay soils that can lead to waterlogging and hinder dill's growth.

Hanging Heights

Dill Lighting Requirements: Full Sun (Bright Direct Light) & High Light (Bright Indirect Light)

Similar Lighting Requirements